Add custom fonts to react-native easily in 3 steps [updated 2023]

In this article I will give you the steps to include custom fonts in any react-native project (0.60 to any newer version).
1. Get the font file needed for your project
You need to obtain the required font files either in .ttf or .otf format. You can get some free fonts from Fontspace or Candyfonts. Place the font files in a folder you prefer. Here i am adding my fonts in App/assets/fonts
2. Create a configuration file
Create a configuration file react-native.config.js in the root project directory and add the code below:
3 (a).Linking the font assets (For RN version < 0.69)
Link the newly added asset by running the command:
yarn react-native link or
npx react-native link //only if React Native version < 0.693 (b). Linking the font assets (For RN version > 0.69)
For React Native versions above 0.69, autolinking, link and unlink commands have been removed and so you can link your assets using the below command:
npx react-native-asset The above command uses react-native-asset to copy the assets to respective native directories and make all the required changes.
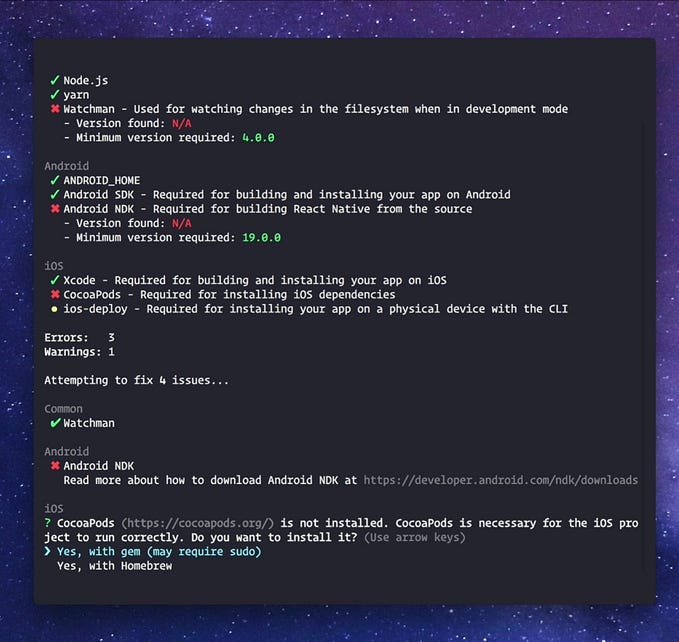
If everything is right, you will see something like below, and you can see the new font assets in android/app/src/main/assets/fonts in the case of android and changes in the Info.plist in case of iOS.

and finally, Re-run your app to initialise with the newly bundled resources (i.e the fonts).
npx react-native run-androidor
yarn run androidNote: Make sure to link the font assets every time you add a new font to your project.
Do comment, if you have any doubts or queries.
Always happy to help. Cheers 🍻
[This story is last updated on 01-Jun-2023]


